Making a website with SvelteKit
Published Oct 30, 2023
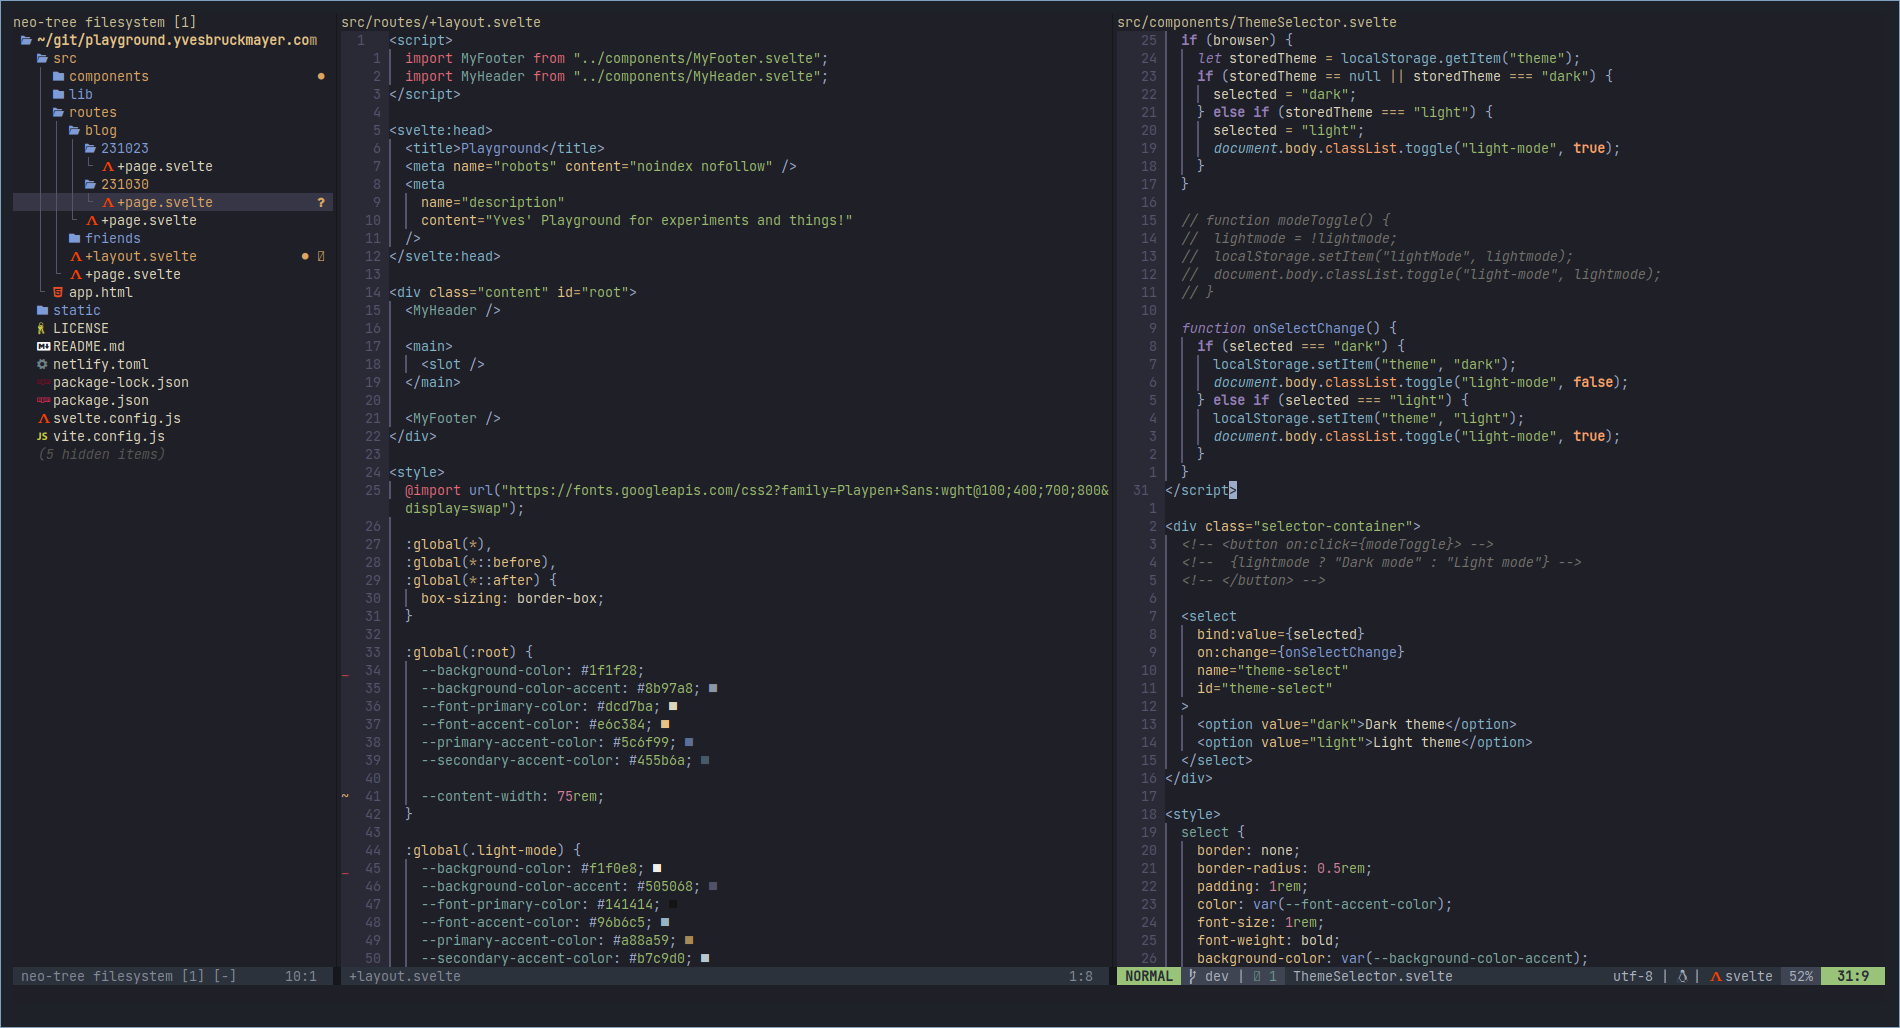
Table of contents
- Setting up Neovim for Svelte
- Why Svelte?
- Basic syntax and structure of a Svelte project
- Layout files
- Reactivity
- Components
- And so much more
- Addendum: Things have changed
Setting up Neovim for Svelte
Before I could get started with SvelteKit, I had to actually set up my dev environment for it. For the last 5 or 6 years, I’ve been an avid user and enjoyer of Neovim which is a open source fork of the original Vim. There’s a lot to talk about just with Neovim but I’ll save that for another article.
So the task was clear: Set up Neovim for Svelte. This is actually really easy to do if you already have a Neovim setup that is ready for the usual things you need when using a new language. Those things usually consist of:
- A way to add LSPs
- Syntax highlighting with Treesitter
- Completion for the new language
All of these are easily achieved. The LSP I just add via a Neovim extension called Mason which lets me easily download LSP servers and integrate them into Neovim. You can also do this manually but this way is certainly faster.
Just look for the LSP of your choice and install. For Svelte I made sure to install the Svelte Language Server. Adding highlighting with Treesitter is easy by just executing :TSInstall svelte. It’s also important to make sure to have highlighting for html, css and javascript (or typescript) installed since Svelte relies on all of these.
Completion is easy. That one basically comes free with the LSP integration as long as you already have completion set up for Neovim in general (which you should have.)
Lastly of course you should have a recent version of NodeJS installed.
With all that in place you can simply use npm create svelte@latest my-app to create a new SvelteKit app.
Why Svelte?
Svelte is pretty new as far as web frameworks go (though it has been around for a good few years which does lift it out of the class of very new stuff into the class of frameworks that has had some time to mature.) I chose SvelteKit for this website for a few reasons:
- I like component based web development.
- I don’t want to have to overly rely on JavaScript with something like JSX.
- I wanted something that is powerful but easy to get into.
- I wanted routing to be very simple.
I truly think that one of the nicest parts about Svelte is that, when working with simple websites, it’s pretty much no different than writing normal HTML.
Basic syntax and structure of a Svelte project
When you create your skeleton Svelte app with SvelteKit, you get this index page:
src/routes/+page.svelte

<h1>Welcome to SvelteKit</h1>
<p>
	Visit <a href="https://kit.svelte.dev">kit.svelte.dev</a> to read the documentation
</p>
As you can see, this is literally just some HTML. One thing to note is that all the boilerplate stuff is gone. You have no <html>, <head> or <body> tags. SvelteKit creates all of that for you. The way it works is actually via compilation. The compiler reads your .svelte-files and creates the HTML, CSS and JavaScript for you.
The project structure is mostly organized like this
my-project/
├ src/
│ ├ lib/
│ │ ├ server/
│ │ │ └ [your server-only lib files]
│ │ └ [your lib files]
│ ├ params/
│ │ └ [your param matchers]
│ ├ routes/
│ │ └ [your routes]
│ ├ app.html
│ ├ error.html
│ ├ hooks.client.js
│ ├ hooks.server.js
│ └ service-worker.js
├ static/
│ └ [your static assets]
├ tests/
│ └ [your tests]
├ package.json
├ svelte.config.js
├ tsconfig.json
└ vite.config.js`}
If you care to learn the details you can read more about the structure in the Svelte docs. I’m not going into detail here. I will mostly focus on the routes and the static folder. Additionally you can change this structure a little bit to suit your needs. For example, I have added at src/components folder to my project where I create all my components. More on components later. The routes folder is probably the most important one. It defines the structure of the website you’re creating. The routes themselves are defined with the folders. src/routes/ corresponds to the /-route. In other words, what would usually be the index.html file at the root of your site. Svelte doesn’t use the name index.html though. It uses specific key words for the file names. The main one of those is +page.svelte, which basically corresponds to the content of the page at the specified route.
For example, if you look at the routes for this page, they look a little bit like this:
src/
├ routes/
│ ├ blog/
│ │ ├ 231023/
│ │ │  └ +page.svelte
│ │ └ +page.svelte
│ └ friends/
│    └ +page.svelte
└ +page.svelte`}
With this structure, you will be able to navigate to /blog/231023/ and there you will find the content of /src/routes/blog/231023/+page.svelte.
Layout files
Another nice thing that Svelte provides you with are so called +layout.svelte files. If you’ve ever made a website with multiple pages in pure HTML, you know how annoying it is to have to copy a lot of your elements over and over. And it doesn’t end there. Let’s say you have a nav-bar that should stay consistent across all pages. Easy enough, just copy the HTML to every file and you’re done. But what if you wanna change you nav-bar later on? Well, you’re out of luck ‘cause no you have to go to each and every file and update the HTML.
Not so with a layout file. This is a concept that exists in most frameworks because of how useful it is. The idea is that you define a single layout that might consist of something like a header element, a main content part and a footer element. Then you simply specify where in your layout the content of other pages slots into. In-fact, Svelte uses the <slot> tag for that purpose.
You can add a +layout.svelte file at any point in your routes/ folder (or its sub-folders) as long as you also have a +page.svelte to go a long with it.
Such a +layout.svelte file might look like this:
src/routes/+layout.svelte

<svelte:head>
	<title>Playground</title>
	<meta name="robots" content="noindex nofollow" />
	<meta
		name="description"
		content="Yves' Playground for experiments and things!"
	/>
</svelte:head>

<div class="content" id="root">
	<header>
		<h1>Hello World</h1>
	</header>

	<main>
		<slot />
	</main>

	<footer>
		<h1>Feet for free</h1>
	</footer>
</div>
/>
The thing to note is the <slot> tag that you see inside the <main> tag. This is where svelte will place the content of all your pages into. Meaning that from now on, every page you create will have this head, header and footer, and additionally, the content of the page will be wrapped in the <main> tag.
I also added a <svelte:head> tag to include things that would usually be in a normal <head> tag in HTML. This is because the head of the page is actually created by Svelte during compilation and adding a <head> tag would lead to having multiple heads.
Reactivity
In vanilla JavaScript you have to add listeners to everything to keep track of when things change on your website when the user interacts with them. For a simple button or form, this can be easy but for more complex cases, especially once the content of your page increasingly depends on the state of a handful of variables that the user interacts with, this can because confusing, tedious and very difficult to manage. The concept of Reactivity is based on the idea that your site should just react automatically when things change. There’s a lot going on under the hood to make that work but modern frameworks make it as easy as possible for you.
In Svelte, if you define a variable in the <script> tag of the file, you can then use that variable directly in the HTML. And what’s even better is that the page will update automatically when the variable changes. A simple example is a button that increments a number:
<script>
	let number = 0;

	function incr() {
		number++;
	}
</script>

<p>Number: {number}</p>
<button on:click={incr}>Increment number</button>
As you can see, we simply define the variable and a function to increment it. Then we bind the function to the button. Inside the paragraph we display the number.
If you test this for yourself you will see that, every time you press the button. The number will increase by one and the content of the paragraph will be automatically updated. Super simple.
Components
Another very useful feature are components. You can define pieces of reusable code for things that you will use a lot. Let’s say you have a blog post title format in mind with a header displaying the title of the post, a time stamp showing when the article was written and an image that goes along with the article as a thumbnail. (Spoiler alert, this is how I do it on this site.)
With just plain HTML, ever time you want to use that title, you’d have to write every single piece of it. The header, the time stamp, the image. It’ll result in a ton of copied code and it’ll make changing anything later on really difficult.
Enter Components! Imagine you could just define that whole thing once and then simple copy it into your page wherever you need it. That’s exactly what components let you do. You can even pass arguments to them like you would with existing HTML tags.
This is the completely code for my BlogTitle.svelte component:
src/components/BlogTitle.svelte

<script>
	export let title;
	export let imgsrc;
	export let bloglink;
	export let timestamp;
</script>

<div class="blog-post">
	<a href={bloglink}>{title}</a>
	<p class="timestamp">{timestamp}</p>
</div>
<a href={bloglink}>
	<img src={imgsrc} alt="img not found" class="landscape thumbnail" />
</a>

<style>
	.thumbnail {
		height: 20rem;
		width: 100%;
		object-fit: cover;
		border-radius: 1rem;
		transition: transform 0.2s ease;
	}
	.thumbnail:hover {
		transform: scale(1.01);
	}

	h2,
	.blog-post p {
		margin: 0.8rem 0;
	}

	.blog-post {
		display: flex;
		justify-content: space-between;
		align-items: end;
	}

	@media (max-width: 700px) {
		.thumbnail {
			height: 10rem;
		}

		.blog-post {
			flex-direction: column;
			align-items: initial;
		}

		.blog-post p {
			margin-top: 0;
		}
	}
</style>
You can see that in the <script> tag, I define the variables that can be passed to the component. In Svelte, those are called props. Not just that, you can style each component, directly inside the source code of said component and all the styling will be scoped to that component. Meaning that if I change the style of h2 like I do here, it’ll only effect the h2 elements inside this component and nothing else.
So now, creating a new blog title is as easy as doing the following anywhere inside my codebase:
<script>
	import BlogTitle from "../components/BlogTitle.svelte";
</script>

<BlogTitle
	title="I went on a walk"
	imgsrc="/blogimg/231023_img/coverimg.jpg"
	bloglink="/blog/231023"
	timestamp="23. Oct 2023"
/>
We simply import the component and then we can use it like any other HTML tag.
And so much more
There’s a million more things that Svelte can do. I didn’t even go into any of the server side stuff that you can do with it. But even with just the few things introduced in this article, you could mostly copy everything I’ve done on this website. I hope that with this little explanation, it’ll also be easy to follow along what I’m doing on the GitHub. You can find the link to it at the bottom of every page.
Addendum: Things have changed
I’m coming back to this article a few days later, just to note that lots of things have changed (and will keep changing.) The structure and inner workings of this website are already completely different at this point than they were only a few days ago when I wrote this post. I found a tutorial for using markdown to write blog posts and automatically make pages out of them. I used the information in the tutorial to make the website a lot better already. Proper code highlighting, writing articles in markdown and having a more robust foundation in general to go forward.